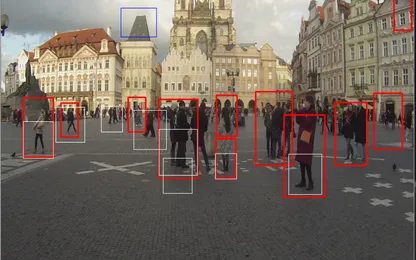
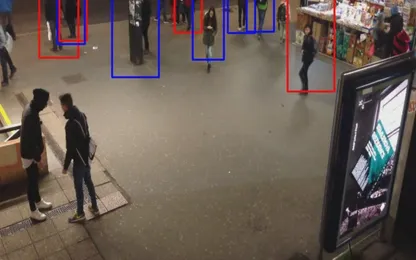
Opencv C++ tutorial about object detection with sliding window. A sliding window is easy to implement on a single scale and also not to much harder to implement in a multi-scale for example detection inside the bigger mat. I would like to visualize all the steps during the code and describe in a natural C++ way. As a // comments. Enjoy the coding.
The first tutorial about mat resizing is Mat Resize Second tutorial mat roi Roi
Opencv installation for the tutorial
You can simply prepare the project inside the Visual Studio 2015 by Nuget Packages. This approach is easy for beginners and better than standard installation with all the environmental variables problems. Just follow the installation steps here
I am using Visual Studio 2015, How to use Opencv 3.0.0 with Visual Studio can be found here install opencv visual studio 2015.
Sliding window for detection openCV code
#include <Windows.h> #include “opencv2\highgui.hpp” #include “opencv2\imgproc.hpp”****#include “opencv2/video/background_segm.hpp” #include “opencv2/video/tracking.hpp” using namespace cv; using namespace std; int main(int argc, const char** argv) { // // Load the image from file // Mat LoadedImage; // Just loaded image Lenna.png from project dir to LoadedImage Mat LoadedImage = imread(“Lenna.png”, IMREAD_COLOR); //I would like to visualize Mat step by step to see the result immediately. // Show what is in the Mat after load namedWindow(“Step 1 image loaded”, WINDOW_AUTOSIZE); imshow(“Step 1 image loaded”, LoadedImage); waitKey(1000);

// Same the result from LoadedImage to Step1.JPG imwrite(“Step1.JPG”, LoadedImage);
// Parameters of your slideing window
int windows_n_rows = 60; int windows_n_cols = 60; // Step of each window int StepSlide = 30;
// Just copy of Loaded image // Note that Mat img = LoadedImage; This syntax only put reference on LoadedImage // Whot does it mean ? if you change img, LoadeImage is changed 2. // IF you want to make a copy, and do not change the source image- Use clone(); Mat DrawResultGrid= LoadedImage.clone();
_// Cycle row step_for (int row = 0; row <= LoadedImage.rows - windows_n_rows; row += StepSlide) { // Cycle col step for (int col = 0; col <= LoadedImage.cols - windows_n_cols; col += StepSlide) { // There could be feature evaluator over Windows // resulting window Rect windows(col, row, windows_n_rows, windows_n_cols);
Mat DrawResultHere = LoadedImage.clone();
// Draw only rectangle rectangle(DrawResultHere, windows, Scalar(255), 1, 8, 0); // Draw grid rectangle(DrawResultGrid, windows, Scalar(255), 1, 8, 0);
// Show rectangle namedWindow(“Step 2 draw Rectangle”, WINDOW_AUTOSIZE); imshow(“Step 2 draw Rectangle”, DrawResultHere); waitKey(100); imwrite(“Step2.JPG”, DrawResultHere);
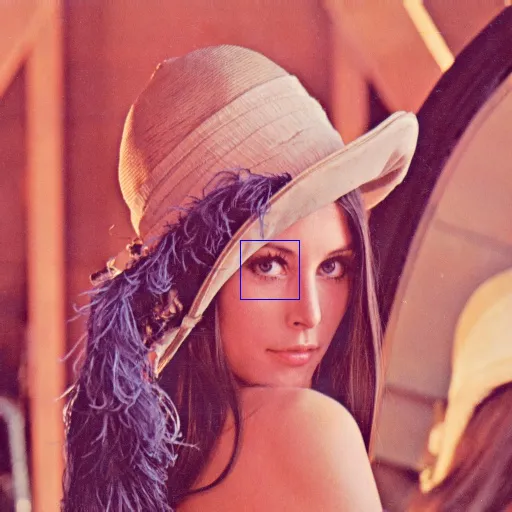
// Show grid namedWindow(“Step 3 Show Grid”, WINDOW_AUTOSIZE); imshow(“Step 3 Show Grid”, DrawResultGrid); waitKey(100); imwrite(“Step3.JPG”, DrawResultGrid);
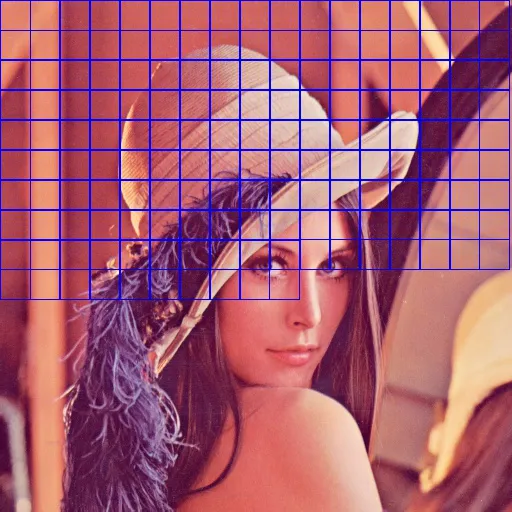
// Select windows roi Mat Roi = LoadedImage(windows);
//Show ROI namedWindow(“Step 4 Draw selected Roi”, WINDOW_AUTOSIZE); imshow(“Step 4 Draw selected Roi”, Roi); waitKey(100); imwrite(“Step4.JPG”, Roi);

} }****}