Compiling OpenCV with Cuda is an easy task. All you need is the right HW from NVIDIA, drivers, and software. Additionally, the processed output video should be streamed out from the OpenCV using the GStreamer. I am putting the GStreamer now as the standard option of my installation of OpenCV on the Windows machine. Let’s go through step by step compilation of OpenCV from source, including Cuda, Gstreamer, and contribution modules. It is just a small increment to my previous tutorial that focuses just on the GStreamer setting in the Windows CMAKE project. This is a simplified version, verified on a different machine than the previous tutorials. You can find some details in this tutorial Install Opencv Gstreamer on windows step by step.
Software prerequisites
- Install cuda, This is my version of network installer cuda_11.0.2_win10_network
- Visual Studio 2019 community
- Cmake 3.17.4
- Opencv 4.4
- Opencv_contrib
Opencv Compilation in Windows steps by step with GStreamer
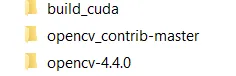
Extract or get through git opencv-4.4
Extract or get through git opencv_contrib-master
Create empty folder build_cuda
Get and install GStreamer (optional step)
Download both 1.16.2 runtime and development installer
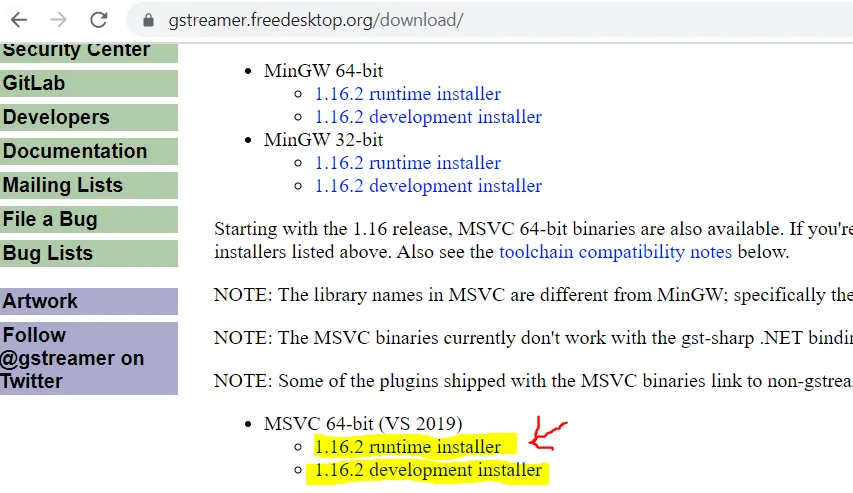
Install both into the same directory
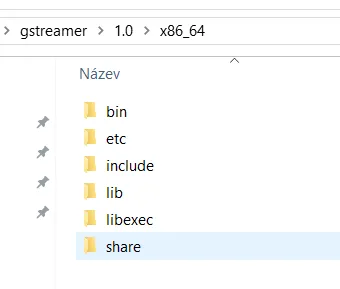
You will need to set up an environmental variable for runtime GStreamer to be able to open the pipeline in the OpenCV program. This is not required to build OpenCV with GStreamer.
Opencv Cmake setting
Open Cmake and set the basic path, where the source is located, and where to build the result
Tip: Use all paths specified in CMake as with this / slash. (When you copy the path from explorer C:\gstreamer\1.0\x86_64 \ causing problems)
-
Hit configure
-
Set the Visual studio 2019 compiler
-
Set extra modules from contrib (/)

-
Set WITH_GSTREMER to yes
-
Set WITH_FFMPEG to yes
-
Set GStremer concrete lib location and header folder, The name of CMAKE Variables is equal to the concrete .lib file
-
INCLUDE_DIR refers to a directory.
-
HIT configure again
-
Set WITH_CUDA to yes
-
Optionally specify CUDA_TOOLKIT_ROOT_DIR (usually founded automatically)
-
Specify opencv_cuda modules you want to build
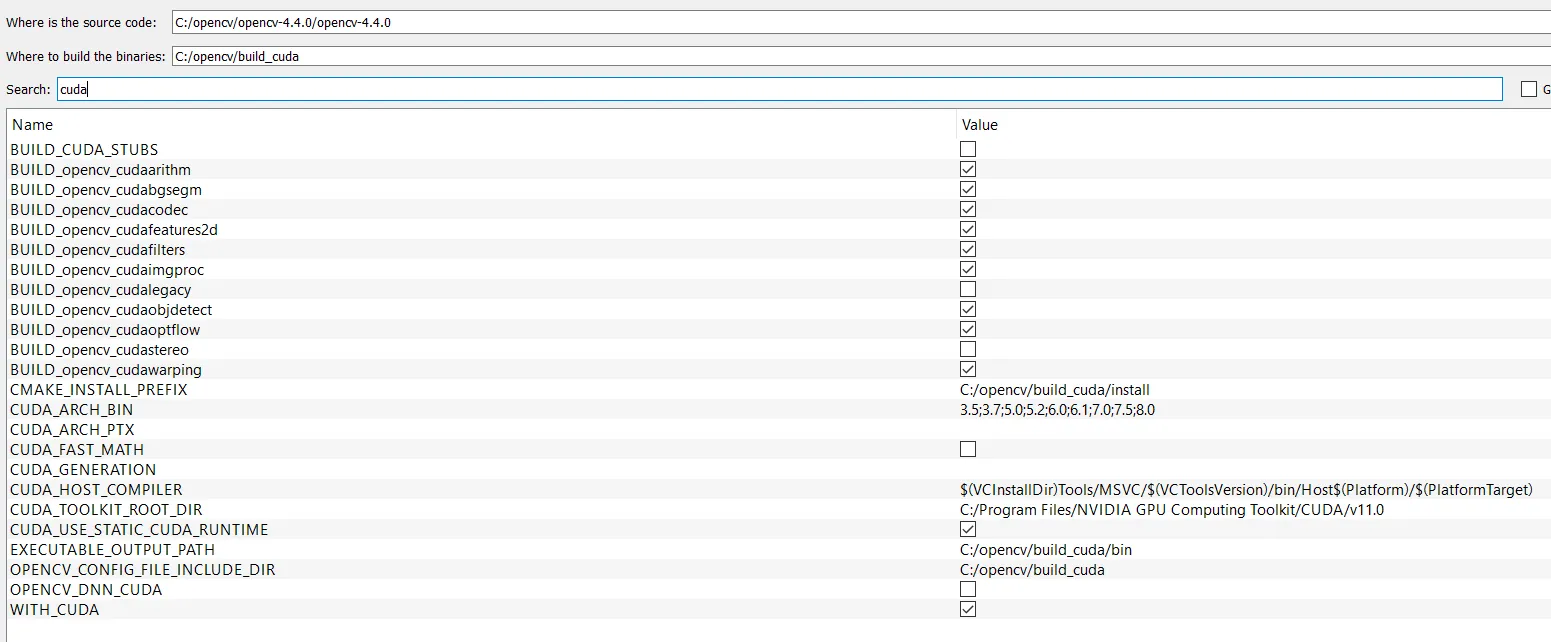
-
Hit configure
-
Read the messages, if cmake is red and correct the settings. Not all your combination are posible for your HW and SW environment
Check OpenCV CMAKE configuration
I am looking in the CMAKE General configuration for the following information:
FFMPEG is YES, GSTremer is YES, NVIDIA CUDA is YES, I got all I want.
General configuration for OpenCV 4.4.0 =====================================
Extra modules:
_Location (extra):            C:/opencv/opencv\_contrib-master/opencv\_contrib-master/modules_

_Version control (extra):     unknown_
Video I/O:
_DC1394: NO_FFMPEG: YES (prebuilt binaries)
avcodec: YES (58.54.100)
avformat: YES (58.29.100)
avutil: YES (56.31.100)
swscale: YES (5.5.100)
avresample: YES (4.0.0)
GStreamer: YES (1.16.2)_DirectShow: YES_
_Media Foundation: YES_
_DXVA: YES_NVIDIA CUDA: YES (ver 11.0, CUFFT CUBLAS)NVIDIA GPU arch: 35 37 50 52 60 61 70 75 80
NVIDIA PTX archs:
Configuring done
HiT generates and opens the project in CMAKE and jumps to Visual Studio
- Hit Generate in CMAKE
- Hit Open Project in CMAKE
Compile OpenCV, CUDA with GStreamer in Visual Studio
- Change setting of Visual Studio to Release, x64
- Right-click on Project ALL_BUILD -> hit build option
- This will take a lot of time since the CUDA is compiling
- IF you compile the project without errors (warnings are ok)
- Right-click on Project INSTALL -> hit build option
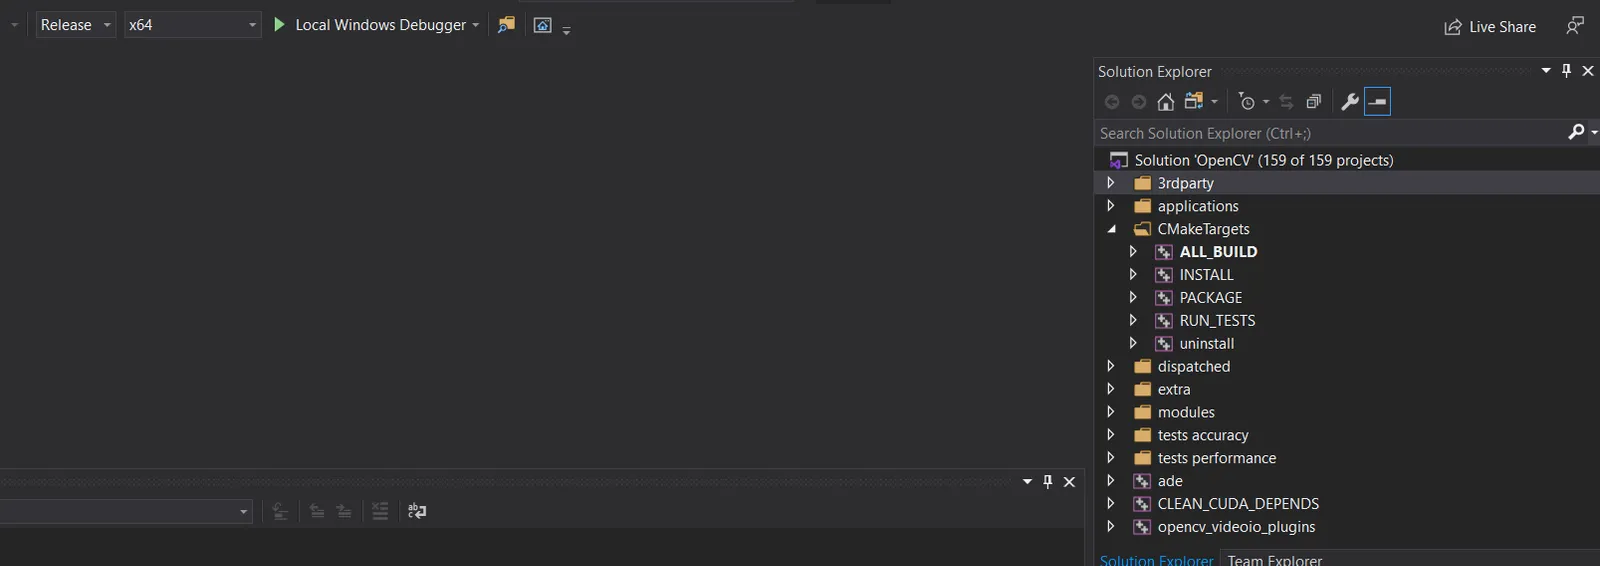
Use your custom Opencv library
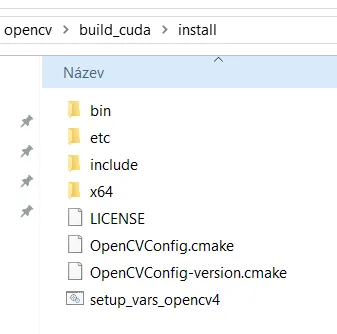
Your OpenCV after successfully build of INSTALL project is located here:
Set up your first Visual Studio Project in a standard way. Your library is installed in build_cuda/install.
Headers are located under include and libs under x64. Enjoy your custom Opencv Library.
Opencv GStreamer Windows APP tutorial