Mastering OpenCV: Image Transformations (Resize, Crop, ROI & Filters)
After I finally understood cv::Mat and memory behavior, the next step that changed everything for me was image transformations.
This is where OpenCV becomes truly powerful — resizing, cropping, extracting regions, and applying filters. But just like with Mat, there are hidden details that can either make your pipeline efficient… or completely break it.
1. Resizing Images (resize)
Resizing is one of the first operations I use in almost every pipeline — especially for ML models where input size matters.
#include <opencv2/opencv.hpp>
using namespace cv;

Mat resized;
resize(image, resized, Size(300, 300));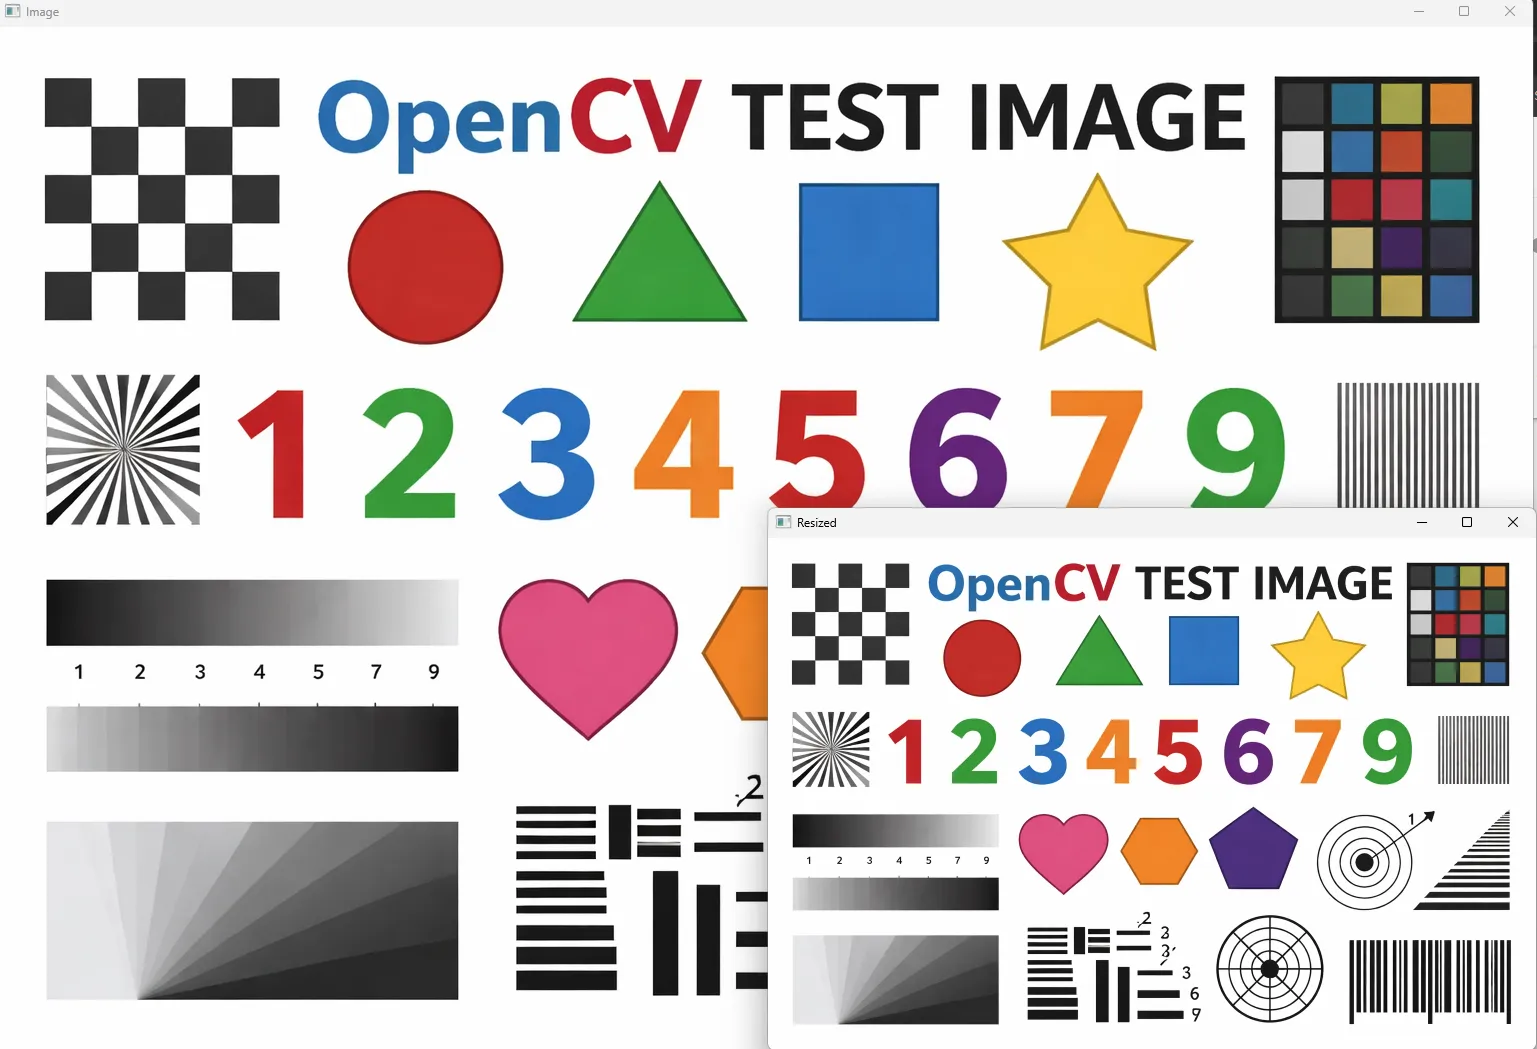
Full code for test image above:
    Mat img = imread("test.png");
    if (img.empty()) {
        std::cerr << "Error: Could not read image." << std::endl;
        return -1;
    }
    imshow("Image", img);
    Mat resized;
    resize(img, resized, Size(img.cols / 2, img.rows / 2));
    imshow("Resized", resized);
What I learned quickly about resize technigues:
resize(img, resized, Size(img.cols / 2, img.rows / 2), 0, 0, INTER_LINEAR);- INTER_LINEAR → default, good balance
- INTER_NEAREST → fast, but blocky
- INTER_CUBIC → high quality, slower
Choosing interpolation is not just visual — it affects ML model performance.
2. Cropping Images
Cropping is just selecting a rectangle:
Rect roi(50, 50, 200, 200);
Mat cropped = image(roi);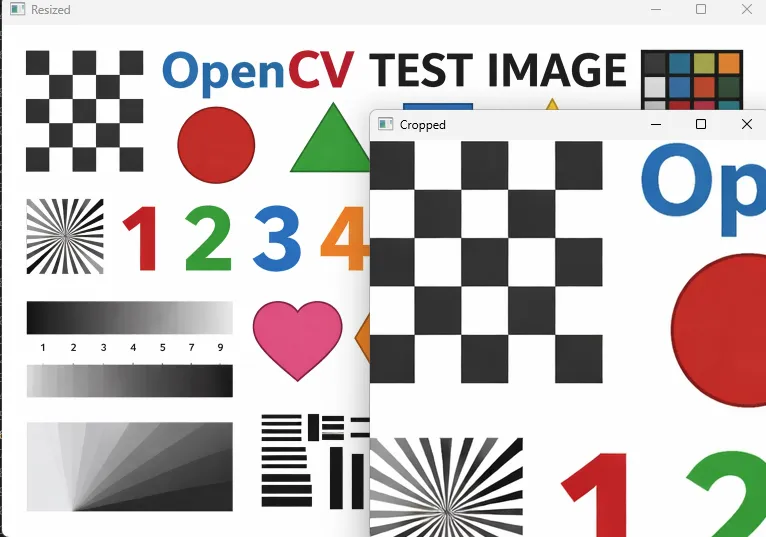
At first, I thought this creates a new image. It doesn’t.
This is actually a view into the original image.
3. ROI (Region of Interest) — The Hidden Power
ROI is where things got really interesting for me.
When I do:
Mat roi = image(Rect(50, 50, 200, 200));I’m not copying pixels. I’m referencing the same memory.
That means:
roi.setTo(Scalar(0,0,255));Also modifies the original image.
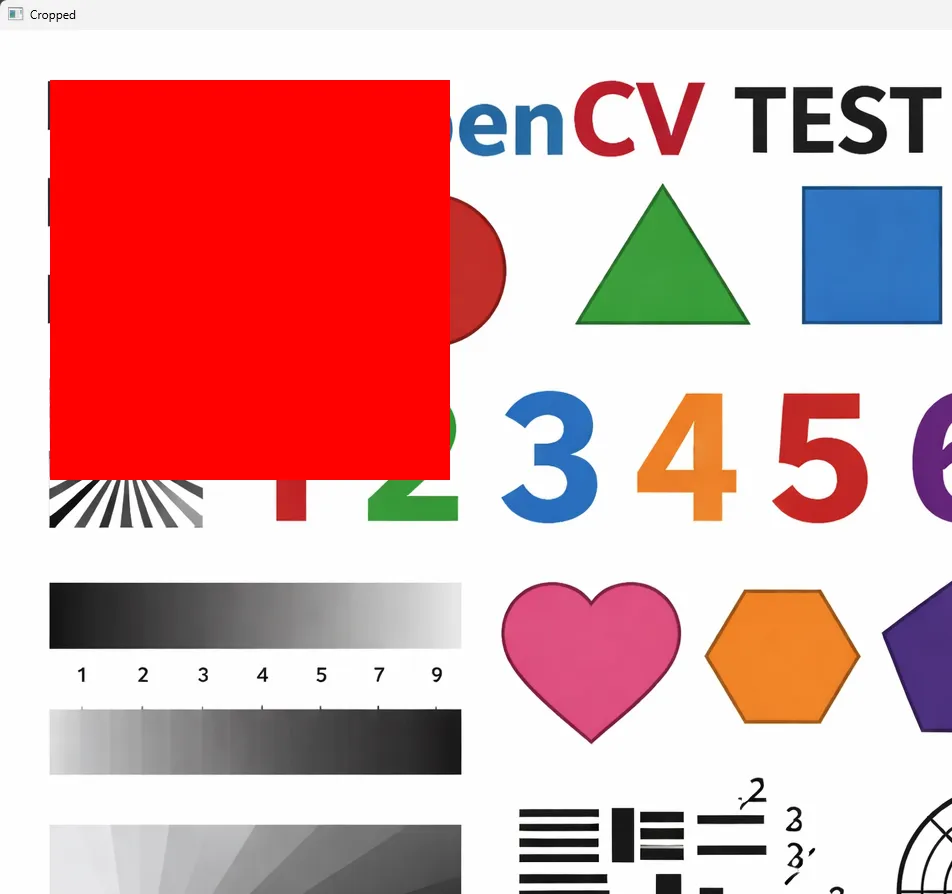
    Rect roi(50, 50, 400, 400);
    Mat cropped = img(roi);

    cropped.setTo(Scalar(0,0,255));
    imshow("Cropped", img);
This is incredibly powerful for performance — but dangerous if you don’t expect it.
4. Filters (Blurring, Smoothing, Edge Detection)
Filters are where visual magic happens.
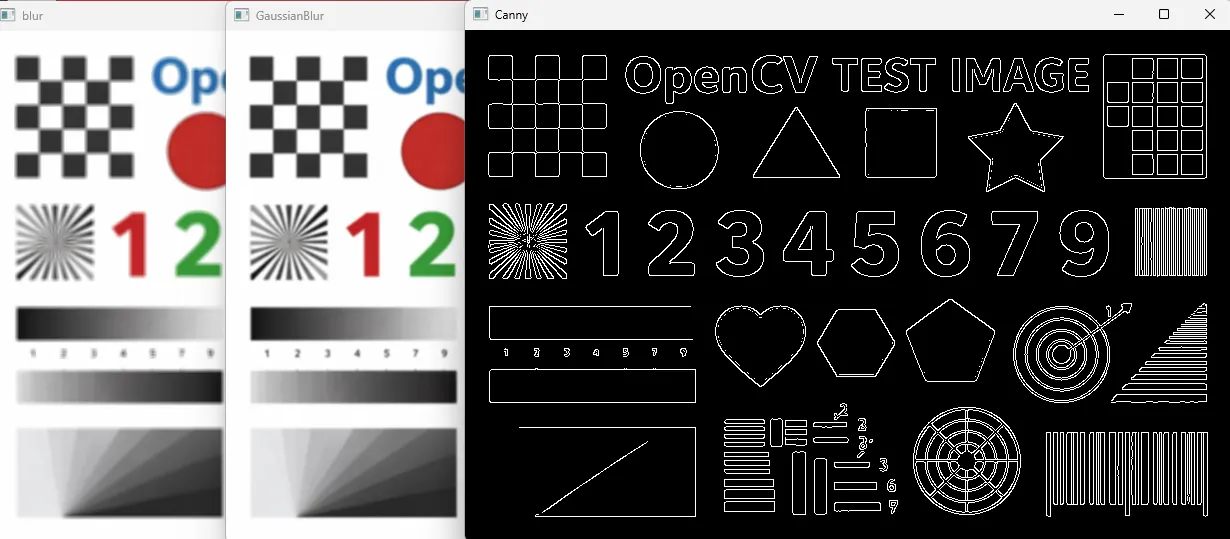
Blur (Smoothing)
blur(image, output, Size(5,5));Gaussian Blur
GaussianBlur(image, output, Size(5,5), 0,0,1);Edge Detection (Canny)
Canny(image, edges, 100, 200);What I realized:
- Blur removes noise
- Gaussian is more natural
- Canny extracts structure
5. The Trap I Fell Into
I once applied filters on ROI and accidentally modified the original image.
Fix:
Mat roiCopy = image(Rect(50,50,200,200)).clone();Now I always ask myself:
- Do I want performance? → ROI
- Do I want safety? → clone()
6. Interactive Demo (This Is Where It Clicks)
This demo simulates how transformations work visually.
7. My Key Takeaways
- Resize affects both performance and ML accuracy
- ROI is fast because it shares memory
- Filters transform meaning, not just visuals
- clone() is your safety switch
Conclusion
Once I understood transformations, I stopped treating images as “pictures” and started seeing them as more data.
That shift made everything — detection, OCR, AI — much easier to understand.
Tip:
Need help to install, compile opencv C++ program? Use Agents in Antigravity, Cursor, Gemini CLI, Claude to do this for you.